There are some basic items that you should have when you show up for your first day of work at your first archaeology job. You may already have such a list from a field methods class or a field school. These archaeology tools are key.
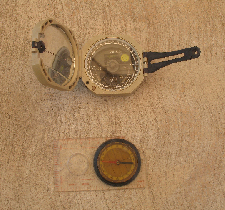
Two Types of Compasses
Here are my recommendations…
Consider the steps you will take when you excavate your first 1 meter by 1 meter unit, archaeology’s equivalent of the atom in that it is basic and (usually) indivisible. Your unit will be oriented in some fashion, usually on true north. You will need a compass.
Two are shown to the right. A simple one will do for orienting your unit and inexpensive ones can be found. Just make sure it can be adjusted for magnetic declination (the angle between magnetic north and true north). More expensive versions exist, but are usually more important for use in setting up surveying equipment or for land navigation while doing pedestrian surveys, and should be provided by the dig or field school.
Measurement is Key…
Once you are oriented, you will lay out your unit. You will need a tape measure. The manufacturer is not important. Just make sure that the units used are metric.
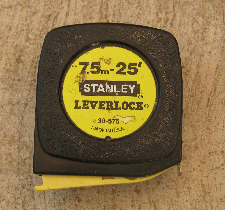
Tape Measure
Marking off your unit…
Mark off your unit using nails (or spikes) and string. I consider nails and string to be expendables and provide them on my digs, but I keep some of each in my field gear. It is just simpler to have your own and not have to try to track them down on the site.
Any string will do, but the brighter the color, the less likely it will be inadvertently broken by someone walking through it. Hammers to drive the nails or spikes should be provided on site and need not be part of your personal gear.
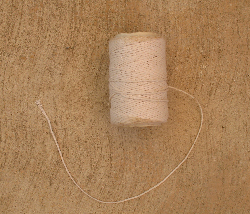
Boundry String
An archaeologist’s best friend at the site…
You are oriented; your unit is marked off. It’s time to dig. The trowel is the archaeologist’s signature piece of equipment. I recommend a Marshalltown 5-inch pointed Philadelphia style trowel. Marshalltown archaeology trowels (http://www.marshalltown.com) are cast in a single piece, i.e., the blade is not welded to the handle. They last forever. (Full disclosure: I have no business relationship with Marshalltown, but would love one!)
The trowel in the center of the photo is 16 years old, and though the point has been dulled, the trowel still works fine. I have just this year added a margin trowel (right) to my kit, and wonder why I waited so long to do so. .)
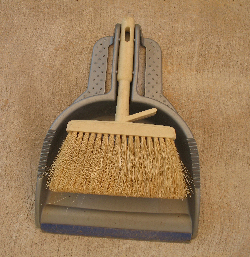
Dust Pan and Brush
You may use your trowel or a brush to help collect the matrix into the dust pan, and a set of brushes of varying sizes are good to have on hand for the fine work. Many digs provide dust pans and larger brushes, but I recommend you have your own.
There are more tools of the trade, click here to see them…
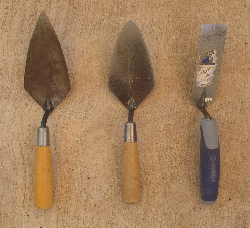
Trowels

